

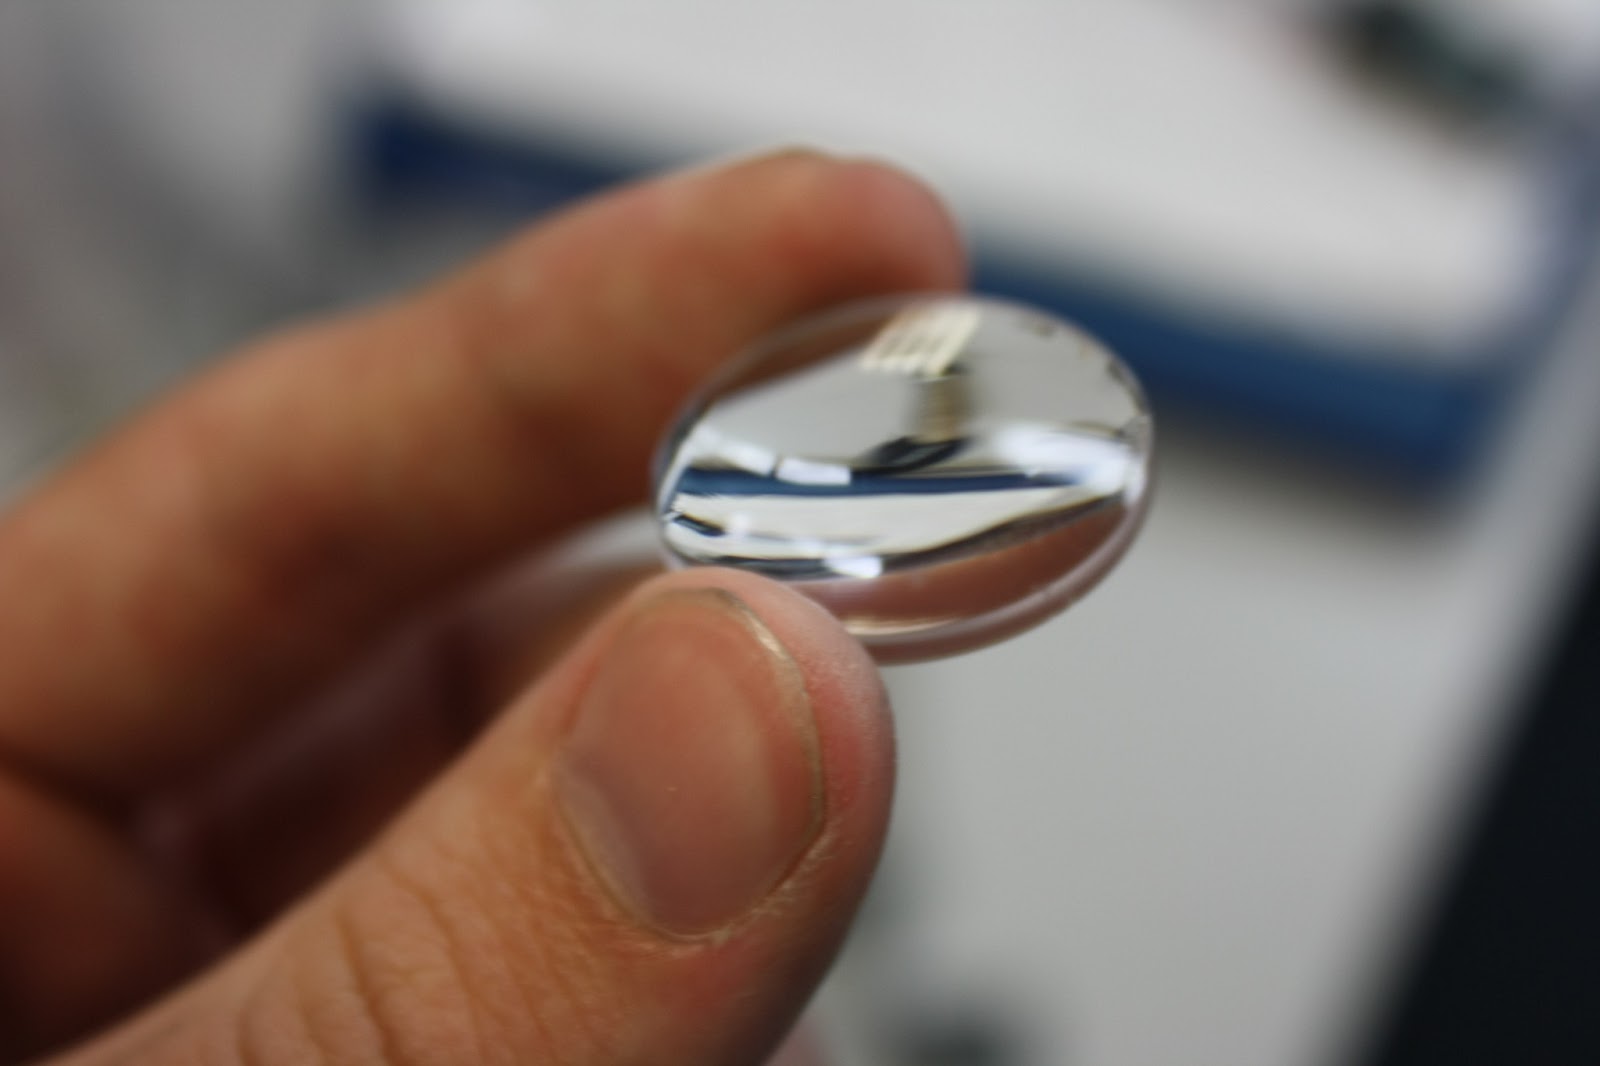
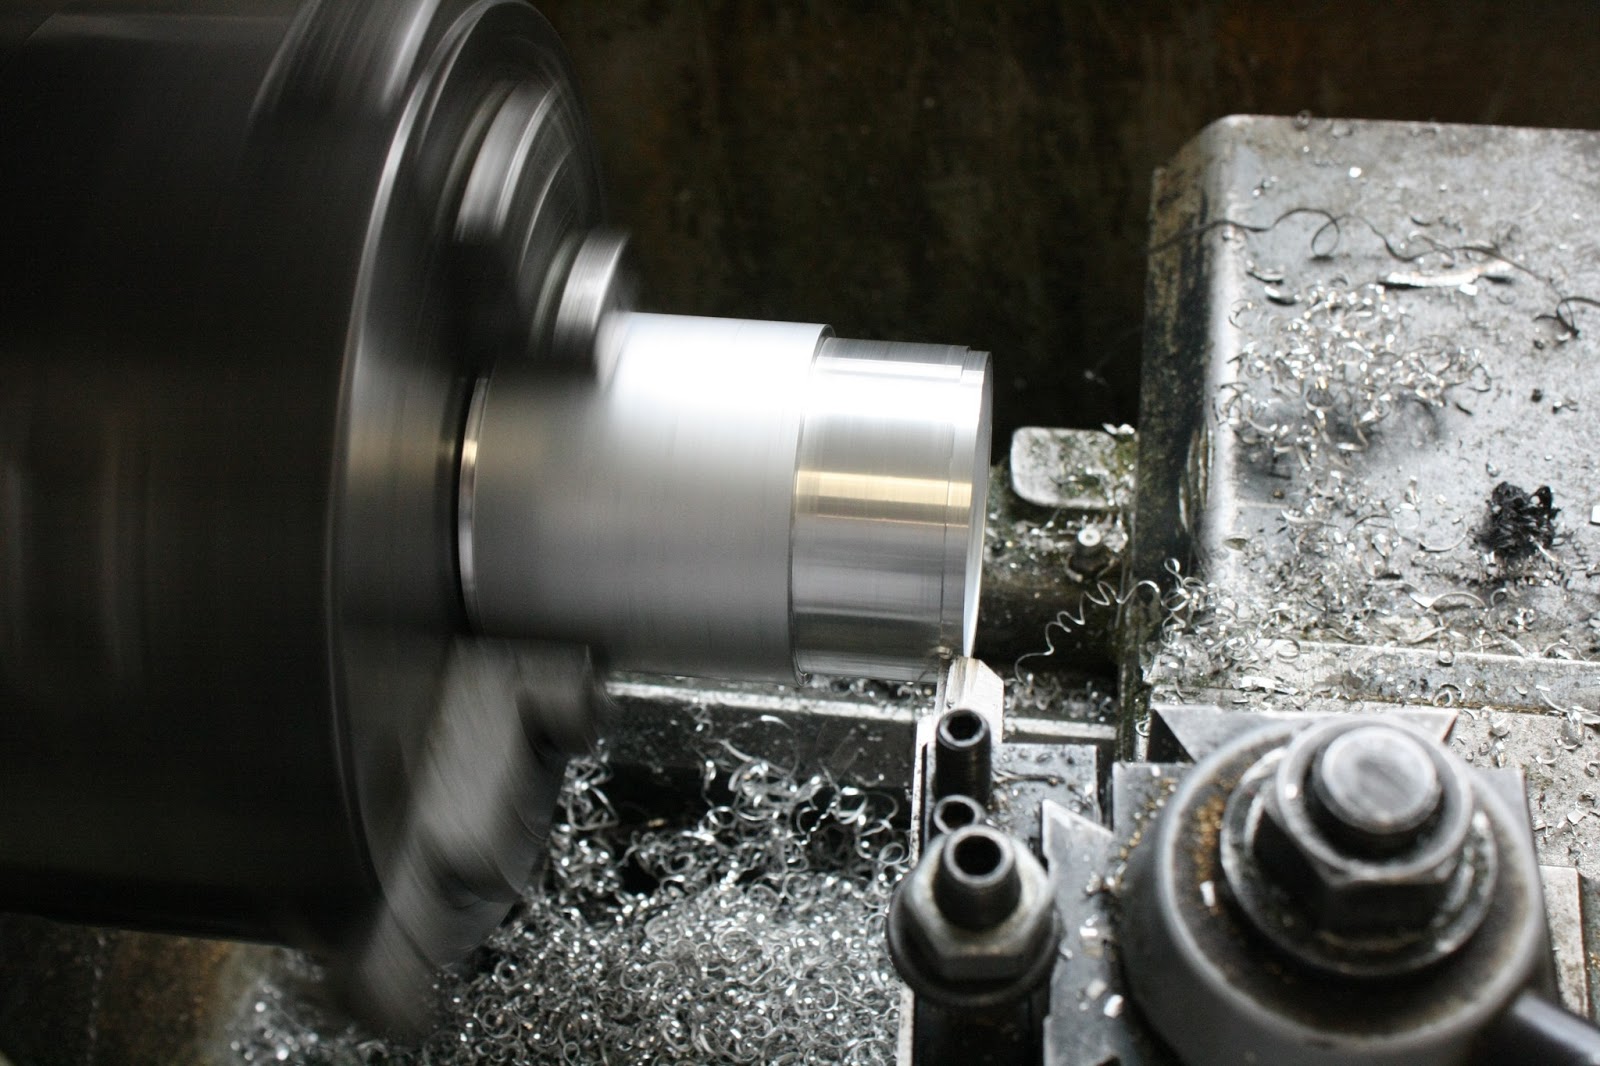
Day 3 started with more optic cutting. This time I was working on the double convex 25mm diam optic for the 50.2'8. With billets already cut to length I got them straight into the machine and ran the DXF. As you can see in the photo below, the DXF file includes a linear cut along the length of the billet. This length is the width of the optic +0.5mm for working headroom. The idea is that I run the cut on the end of the billet, take it out of the CNC and load it into the manual lathe, then part off on the line. The half cut optic can then be mounted into the collet and then back into the CNC, and the back face can be cut, with 0.5mm to play with incase the cut goes wrong.


As the parting tool cuts through the plastic, even with spray coolant swarf can get caught up and remelt itself to the surface. So when the part finally drops off, the back often looks a complete mess. This isn't a problem though, because it's all going to be cut off when the CNC machine faces off the entire face at the start of its cutting sequence.


I am writing this retrospectively, and I honestly cannot remember why I had to cut a new collet. I seem to remember needing to widen the collet to fit the optic in the day before. At the time i just presumed it was a minor calibration error with the boring tool which I had just installed. However, when I came to using the same collet to hold the double convex optics, they just fell out. In the end I ended up cutting a new collet exactly the correct size, and adding the internal chamer to help avoid collet/lens surface collisions by putting it into the manual lathe and turning it by hand. The new collet held the optic well, and could be carefully tapped out from the back with a blunt dowel.


On Day 1 I made the first barrels for the 50.2'8. There are a couple of components within the barrels which provide support for the inner element which need to be manufactured. First on the list is the nylon support material which interfaces between the large inner barrel and the small internal split barrel lens housing. This required a 30mm bore out of the centre of the nylon. Cutting nylon is smooth and easy, but the material itself isnt very nice. It doesn't cut off very well, it's slightly elasticy and is very stringy. For those who remember cassette tapes, the nylon cuts off in the same manner as when tape comes spewing out of a faulty cassette. It goes all over the place and is very easy to cut yourself on, so you have to be careful.


Here you can see how the nylon support fits into the inner barrel. Below I have shown the collet inserted also. The internal split barrel is being made from the same material as the collet and will have the same outside diameter, so it serves as a good example/test piece.


Next on the list was to get something easy out of the way; laser cutting the front name plates. With the DXF pre-prepared it should have been just a case of importing it and hitting run. However, to etch in the writing, I had to add hatching to each of the individual letters, which would have been nice and easy if the control software hadn't been written by toddlers. Why the hell a hatch function would replicate the geometry first rather than just fill the space is beyond me. We ran the program over and over not understanding why the laser was burning through the plastic even when running on the lower etch power. In the end we figured it out and cleared the abundance of replications the software had made as we had tried repeatedly to fix the problem, and eventually the parts cut fine.


As the material was white with a black top layer, the exposed cut edges were white. This is undesirable so I simply coloured them in with a black permanent marker.


On Day 1 I hadn't had time to make a second inner barrel, so the final thing for the day was to quickly cut one of them. Rather than spend all day sawing away at the tube of alli I had, I remembered we had an automatic hacksaw in the back, so I mounted it up, turned it on, and left it to cut for a couple of minutes.


With a billet cut, it was into the lathe to be turned down. The fitment had to be exact so that the barrel would slide smoothly in and out of the outter barrel. I make use of the auto feed function on the lathe, which moves the tool bed automatically at a constant speed. This meant I could get a nice consistent cut, resulting in there not being any areas where the barrels might snagg on each other.


In the end the part came out fine. If I was to be really honest, the quality wasn't as high as I liked, because I was bored and tired by that point. The part was perfectly acceptable, but there were just little bits I would have liked to make more accurate, in particular the outside diameter which was just slightly smaller than on the outter barrel. We're only talking about 0.25mm, but I can see it, and it annoys me. But then this is a prototype and life's too short to spend 15 minutes clocking the part in the chuck just to get the outside cut perfect.


Here are the Nikon and Canon configurations complete with inner barrels. Can you see how the top just isn't quiet the same diam as the bottom? ARGHH! All in all I have gotten a lot done in 3 days. However, these are all the "easy bits" and I am fast running out of them. Eventually i'm going to have to stop and concentrate fully on resolving the concave surface cutting problem. After all, there's no point in even doing all this if the machine can't cut the optics I need. So after three days, I'm making progress, but still worried by the fact that it's all going to come to a halt any minute.


